
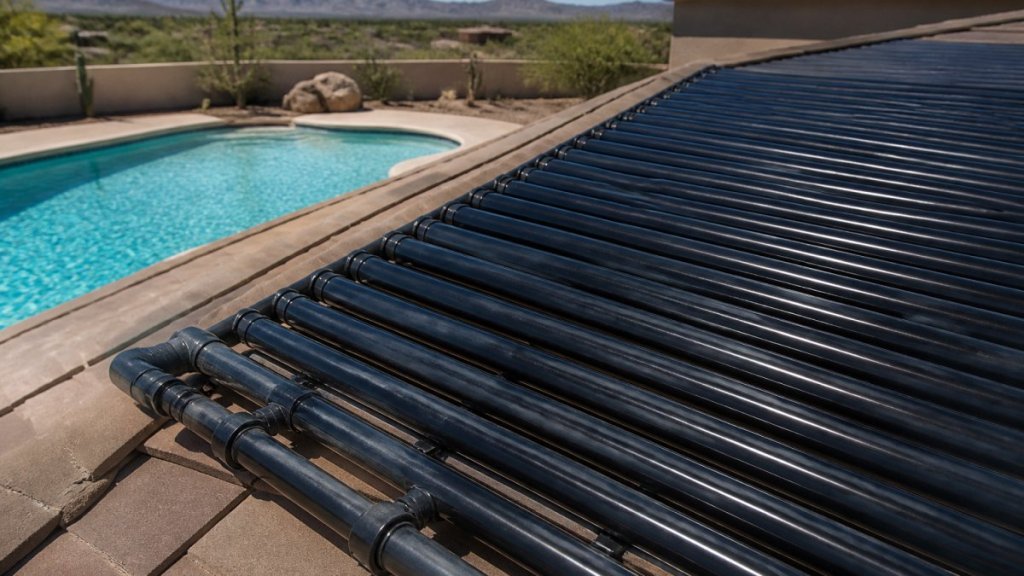
Quick Summary
Replace solar pool heating tubing when cracks, brittleness, or leaks appear across most of the array, or when repairs keep failing in new spots. Isolated damage at one or two tubes or connections can usually be repaired instead.
- Chalky residue, hairline cracks, and stiff sections are early signs of UV damage to tubing.
- If more than about a quarter of the tubes are cracked or brittle, replacement is usually the better choice.
- Check barbs, grommets, and clamps first, since many leaks start at connections rather than the tubing.
- Repeated repairs on the same aging collector often cost more over time than planned replacement.
- Match replacement tubing material, diameter, and pressure rating to your existing system before ordering.
Table of Contents
- Visible cracks, brittleness, and UV damage
- How to Diagnose a Solar Pool Heater Tube Leak
- How Long Solar Pool Heating Tubing Lasts and What Shortens Its Life
- Can You Repair Solar Pool Heater Tubing or Must You Replace It?
- Replacement Cost Compared With Repair Cost
- Step-by-Step Tubing Replacement With Safety Checks
- Booking Your Tubing Inspection With Dixie Pool Solar Heating & Misting
- Frequently Asked Questions
Signs Your Solar Pool Heating Tubing Needs Replacement
Solar pool heating tubing usually fails slowly. A small crack today becomes a leak next season, and by then the pool may already be losing heat and water. Knowing the warning signs lets you act before a minor repair turns into a full system replacement.
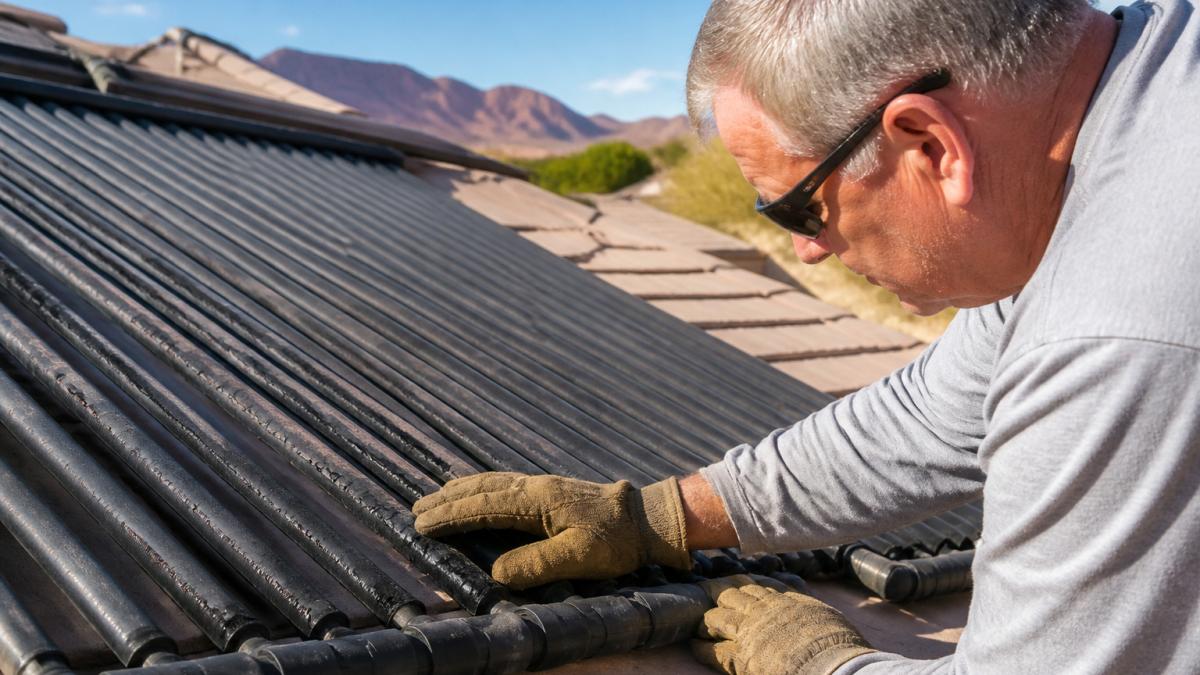
Visible cracks, brittleness, and UV damage
Look at the tubing in daylight. Black rubber tubing that has been out in the sun for years often shows surface changes first. The color fades to gray, the surface chalks, and the tubing feels stiff or brittle when you press it.
Watch for these signs:
- Hairline cracks along the top of the tubes
- Chalky or powdery residue on your fingers after touching the tubing
- Stiff sections that do not flex when gently bent
Pressure loss and a drop in heating performance
A drop in pool temperature is often the first sign that the system has a problem. If the pool heats well in early summer and then stops gaining heat, check the collector before blaming the weather.
Common performance warning signs include:
- The pump runs, but the pool water barely warms
- Water drips from the collector or the plumbing connections
- The pool level drops faster than normal
Pressure loss usually means water is escaping somewhere in the collector loop. Check the barbs, grommets, and pipe ends first. Many leaks start at these connections rather than in the tubing itself.
How to Diagnose a Solar Pool Heater Tube Leak
Finding the leak is the first real step. If the water loss continues, see the signs that your heater needs professional repair.
- Turn off the pump and let the system drain back to the pool.
- Walk the collector and look for wet spots, drips, or puddles under the tubes.
- Check each inlet and outlet connection for moisture or mineral crust.
- Run the pump and watch the tubes closely as water fills them.
- Mark any leaking section with a piece of tape so you can find it later.
Keep in mind that a leak can look like a crack when the water actually comes from a loose clamp.
If you cannot find the leak, or the water loss continues after simple fixes, a professional inspection will save time and guesswork.
How Long Solar Pool Heating Tubing Lasts and What Shortens Its Life
Well-made solar tubing can last many years, but its lifespan depends on the materials, the climate, and how the system is maintained. Our full guide to system lifespan and replacement timing covers the broader picture.
Several factors shorten tubing life:
- Constant UV exposure that dries out the rubber
- Freeze and thaw cycles when water is left in the tubes
- Poorly fitted barbs or grommets that stress the connections
Good habits extend tubing life. Drain the collector before freezing weather, keep the pool chemistry balanced, and inspect the connections each spring. Small checks each year help you catch wear before it becomes a leak.
Can You Repair Solar Pool Heater Tubing or Must You Replace It?
Repair works when the damage is limited. Read about the common failure causes behind tubing problems to see what typically breaks first. A single split tube, a loose connection, or a worn grommet can often be fixed without replacing the whole collector.
Repair is usually the right choice when:
- Only one or two tubes have failed
- The rubber still flexes without cracking
- The leak is at a connection rather than along the tube
Replacement is usually the better choice when:
- Cracks and brittleness appear across most of the tubing
- Repairs keep failing in new spots
- The tubing is at the end of its expected service life
Keep these factors in mind as you decide. Repairing sound tubing is a smaller expense, but repeated patch jobs on aging tubing often cost more over time than a planned replacement.
Replacement Cost Compared With Repair Cost
Most homeowners want a straight answer: patch it or replace it? The honest answer depends on how much of the collector is failing and what a failure would cost you in pool downtime and water loss. Use the framework below to compare repair and replacement on equal terms.
What drives the cost of each option
Repair cost depends on the parts needed and the service call. Pricing depends on collector size, tubing type, fitting count, and labor. The cost scales with how many connections are leaking and whether the leak is at a fitting or along the tube.
Replacement cost depends on collector area, tubing length, fitting count, and labor. A full collector array replacement includes new tubing, new barbs and grommets, clamps, and the labor to remove and refit the panel.
A simple repair-versus-replace decision framework
Ask these questions in order:
- How many tubes are affected? One or two isolated tubes or fittings point to repair. More than about a quarter of the tubes showing cracks or brittleness points to replacement.
- Is the rubber still flexible? Flex a tube gently. If it bends without cracking, repair is viable. If it cracks or feels stiff across the array, the material is at end of life and patches will keep failing.
- Are leaks recurring in new spots? Repeated failures in different locations mean the tubing is aging uniformly, and replacement is the lower total cost over the next few seasons.
- Is the leak at a connection or in the tube body? Connection leaks (barbs, grommets, clamps) are usually repairable. Tube-body cracks across many tubes are not.
- What is the freeze risk? If the system was not drained and froze, damage is often widespread and replacement is usually the safer call.
The hidden cost of repeated repairs
A single repair is a smaller expense than a full replacement. But repeated patch jobs on aging tubing add up: each service call has a fixed cost, each repair risks disturbing adjacent fittings, and each leak loses pool heat and water in the meantime.
If more than a quarter of the tubing is brittle or cracked, or you have repaired the same collector three or more times in two seasons, planned replacement is usually the lower total cost. Get a written quote for both repair and replacement before deciding.
Pricing depends on collector size, tubing type, fitting count, and labor in your area. Request a quote based on your specific system so you can compare the two options on real numbers rather than general patterns.
The table below sums up the decision points for choosing between repair and replacement, drawn from the framework above.
| Question | Repair if | Replace if |
|---|---|---|
| How many tubes are affected? | One or two isolated tubes or fittings | More than about a quarter of tubes cracked or brittle |
| Is the rubber still flexible? | It bends without cracking | It cracks or feels stiff across the array |
| Are leaks recurring? | A single, one-off leak | Repeated failures in new spots |
| Where is the leak? | At a connection (barbs, grommets, clamps) | Cracks across many tubes in the body |
| What is the freeze risk? | System was drained, no freeze damage | System froze without draining |
Step-by-Step Tubing Replacement With Safety Checks
Tubing replacement is a manageable project for a careful homeowner, but it involves water, pressure, and working at height. The steps below add the specification and compatibility checks most guides skip, so the new tubing fits and lasts.
Before you start: match the replacement tubing to your system
Ordering the wrong tubing is the most common reason a replacement job fails. Confirm these specifications before you buy:
- Material: Match the original tubing type. Learn which durable panels and materials hold up in salt pools. Solar pool collectors commonly use EPDM or silicone rubber tubing; silicone tolerates higher temperatures, while EPDM is common in older systems. Do not mix materials in the same collector.
- Inside diameter and outside diameter: Measure a removed tube with calipers. The tubing must fit the existing barbs and grommets; a loose fit leaks and a tight fit splits.
- Pressure rating: Choose tubing rated for your system’s operating pressure. Pool filter systems typically run in the 10-30 psi range, but confirm your pump’s shutoff pressure and select tubing rated above it.
Do not substitute a different tubing material or diameter to save money. A mismatched tube can leak at the fitting, overheat, or fail within a season.
Replacement procedure with safety checks
- Shut off the pump and the system’s power supply before touching any plumbing. Confirm the pump cannot restart.
- Drain the collector completely so no water remains in the tubes. Trapped water adds weight and can scald if the collector is hot.
- Set up stable access. Use a secured ladder or roof harness, and use a helper. Wet, sloped roofs are the most common cause of falls in this job.
- Remove the old tubing carefully, noting how each tube connects to the header and how the clamps and grommets are oriented. Take a photo before disassembly.
- Inspect the barbs and grommets. Replace any that are cracked, deformed, or mineral-crusted; reusing a worn fitting causes a repeat leak.
- Cut the new tubing to length with a clean square cut, and fit it onto the barbs and inlets without twisting or kinking.
- Secure every connection with the correct clamps or grommets. Do not overtighten clamps, which can cut the tubing.
- Refill the system slowly and check every joint for leaks before running the pump at full speed.
- Run the pump for a full cycle and check the collector twice: once during the first hour and again the next morning. This confirms the new connections hold and the system heats as expected.
Label each tube’s position before removal. Reinstalling tubes in the wrong order or orientation is a common cause of poor flow and uneven heating.
If any step reveals widespread brittleness, cracked headers, or damaged fittings beyond the tubing, stop and get a professional assessment before proceeding.
Booking Your Tubing Inspection With Dixie Pool Solar Heating & Misting
If you see any of the warning signs above, a professional inspection gives you a clear answer. Here is what a professional inspection involves and why it is worth booking.
Our team installs and services Heliocol solar pool heating systems. Our panels are built to last 20+ years, and we back our work with a 12-year panel warranty and a 2-year labor warranty.
Ready to find out where your system stands? Get a free quote from Dixie Pool Solar Heating & Misting.
Frequently Asked Questions
How do I know if my solar pool heating tubing needs to be replaced?
Replacement is usually due when you see visible cracks, brittle or chalky tubing that snaps when flexed, persistent leaks at fittings or along tube runs, or a noticeable drop in heating performance even when the pump runs normally. If repairs keep failing or the damage covers a large share of the collector, replacement is the more practical choice. Check the tubing on a sunny afternoon after the pump has run, looking for wet spots, pooled water under the collector, and sections that feel soft or stiff. Dixie Pool Solar Heating & Misting can inspect your system and tell you whether repair or replacement makes sense.
How long does solar pool heating tubing typically last?
Solar pool heating tubing lasts as long as its material holds up to sun exposure, temperature swings, and water chemistry. Exposed rubber and some polymer tubing can age noticeably over many seasons, with UV damage and freeze cycles usually setting the timeline. Heliocol panels are rated for 20+ years, and Dixie Pool Solar Heating & Misting backs panels with a 12-year warranty. Regular inspection each spring and winterizing before freezing temperatures help the tubing reach its full service life.
Can a leak in solar pool heater tubing be repaired, or does the tubing need replacement?
Small leaks at barbs, grommets, or pipe connections can often be fixed by replacing the fitting or the grommet, which is far less work than replacing the whole collector. Multiple leaks, cracks spreading along the tube, or damage from freezing usually call for replacing the affected tubing. Repairs that cover only one area tend to fail again if the surrounding tubing is already weakened. Ask for an inspection to see which option fits your system.
How much does it cost to replace solar pool heater tubing?
Pricing depends on the size of your collector, the amount of tubing needed, the replacement parts, and the labor involved. Dixie Pool Solar Heating & Misting does not publish fixed prices for tubing replacement, so the cost for your pool will depend on your system’s details. Request a free quote from Dixie Pool Solar Heating & Misting for current pricing for your specific pool. Ask whether your Utah State tax credit or Enbridge Gas rebate may apply to the project.


Leave a Reply