
Table of Contents
- How to Identify Where Your Solar Pool Heater Is Leaking
- Common Causes of Solar Pool Heater Leaks
- Essential Solar Pool Heater Repair Kit and Tools
- Step-by-Step Repair Guide for Common Leaks
- Solar Pool Heater Maintenance Checklist to Prevent Leaks
- Signs of Solar Pool Heater Failure and When to Call a Professional
- Frequently Asked Questions
Last Updated: September 25, 2026
How to Identify Where Your Solar Pool Heater Is Leaking
Finding the exact source of a solar pool heater leak is essential, leaks can occur at multiple points, and pinpointing the source makes repairs faster and prevents wasted time.
Visual Inspection Techniques
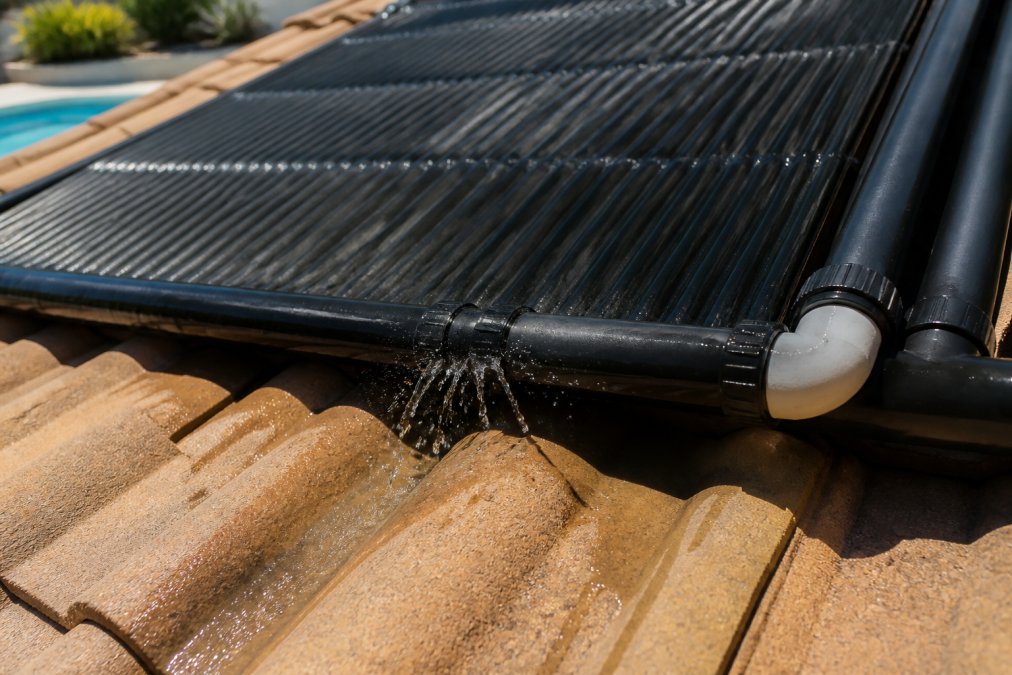
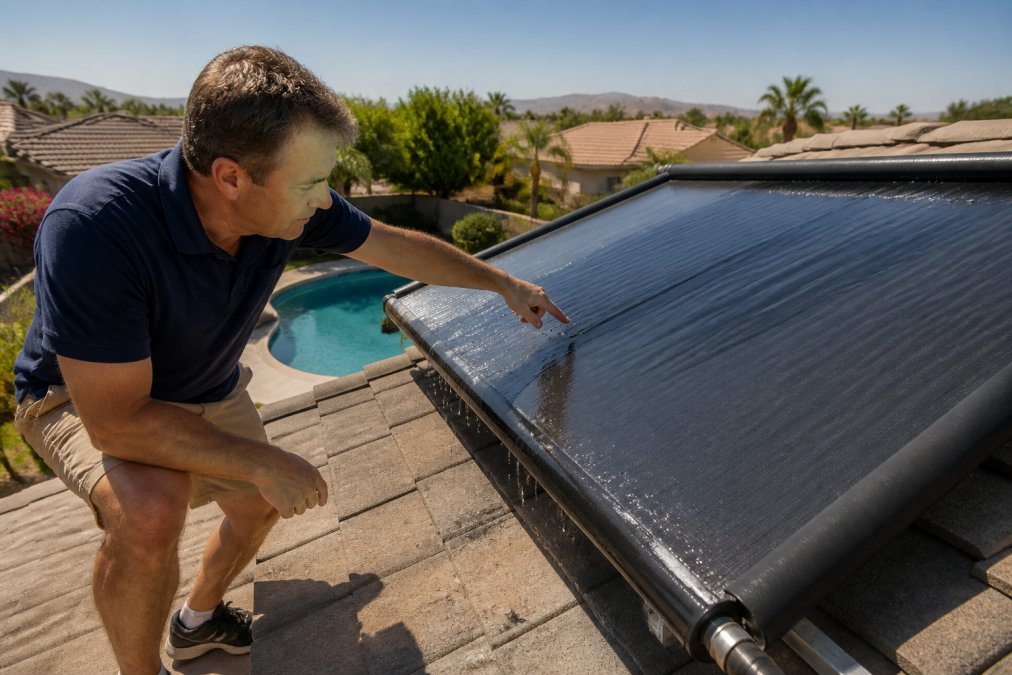
Walk around your system looking for wet spots, water stains, or visible drips. Check underneath solar collector panels for pooling or staining on the roof. Trace hose lines from panels back to pool equipment, as water often leaks where hoses connect to fittings.
Examine all visible connection points. Loose hose clamps are a common culprit. Also check for cracks in solar tubes, as UV degradation can cause small fractures that weep water.
Inspect the diverter valve and plumbing manifold, where multiple lines join, these joints are pressure points where leaks frequently occur.
Pressure Testing and Flow Rate Checks
Pressure testing reveals hidden leaks that visual inspection misses. A pressure gauge shows whether your system is holding pressure or losing it.
Run your pump for five minutes and watch the pressure gauge. Steady pressure drops indicate a leak; steady readings suggest a small or intermittent leak.
Check flow rate by comparing actual flow to expected flow. Lower-than-normal flow suggests a blockage or leak. Measure by timing how long it takes to fill a bucket from a test valve.
Isolate sections by closing valves one at a time and retesting pressure. The section where pressure drops contains the leak.
Common Causes of Solar Pool Heater Leaks
Understanding leak causes helps prevent them. Solar systems operate under pressure and temperature stress, creating predictable wear patterns.
Loose Hose Clamps and Fitting Joints
Hose clamps secure flexible hoses to rigid fittings. Vibration and thermal expansion cause clamps to loosen gradually over time.
Thermal expansion occurs as hot water takes up more space than cold water. This expansion and contraction stresses connections and loosens clamps over seasons.
Fitting joints are vulnerable points where water pressure pushes outward. Loose clamps allow water to escape, and small leaks grow worse if unchecked.
Check clamps at least once per season. A simple half-turn of the clamp screw often stops a leak before it becomes serious.
Worn O-Rings and Gasket Degradation
O-rings are small rubber seals inside fittings that create a watertight barrier. Over time, heat and UV exposure cause them to harden and crack.
Gaskets work similarly in different locations. Both have a lifespan; after several years of hot water and sunlight exposure, rubber deteriorates.
When an O-ring fails, water leaks from a seemingly secure connection. Replacing it is a straightforward repair that takes minutes.
Check O-rings and gaskets during spring startup. Replace any that look cracked, hardened, or discolored, preventive replacement is cheaper than water damage repair.
UV Degradation and Thermal Expansion
UV rays break down plastic and rubber over time (pubmed.ncbi.nlm.nih.gov). Solar components in direct sunlight become brittle and lose flexibility.
Thermal expansion stresses every connection. Water heating to 120+ degrees expands; cooling at night contracts. This yearly cycle fatigues materials.
Hoses become stiff and crack after years of sun exposure. Solar tubes develop small fractures from thermal stress that grow larger under water pressure.
Inspect hoses and tubes annually for discoloration, cracks, or hardening. Replace before failure to prevent major water loss.
Roof Integrity and Mounting Damage
Solar panels on your roof experience constant stress from wind, rain, and their own weight. The mounting structure must be solid and properly secured.
Roof leaks occur around mounting points where panels attach. Poor installation or settling creates gaps that allow water to seep into your home.
Check the roof twice yearly for loose mounting bolts, gaps in sealant, or damaged material. The seal around mounting penetrations is critical, as caulk can crack.
After severe weather, inspect your system to verify mounting bolts are snug and panels haven’t shifted. A professional can assess roof damage safely.
Essential Solar Pool Heater Repair Kit and Tools
Most solar pool heater leaks require only basic tools and a simple repair kit.
What to Include in Your Repair Kit
Include replacement O-rings in common sizes, they’re inexpensive and save trips to the store.
Include plumber’s sealant or thread-seal tape for watertight seals on threaded connections.
If your system uses PVC pipes, include PVC cement and primer for permanent bonding.
Keep hose clamps in various sizes to tighten loose connections without replacing hoses.
Include replacement hose sections, they’re easier to replace than patch.
Store your kit in a dry location near pool equipment and label everything clearly.
Tools for Leak Detection and Repair
A pressure gauge is your most important tool, digital gauges are inexpensive and accurate.
Adjustable wrenches (half-inch to one-and-a-half inches) or socket wrench sets loosen and tighten fittings.
A screwdriver set (Phillips and flathead) handles hose clamp adjustment and fasteners.
Pliers hold fittings steady while you work.
A utility knife with a sharp blade cuts hose cleanly for replacement sections.
A bucket catches water when opening connections, preventing spills.
Step-by-Step Repair Guide for Common Leaks
Most solar pool heater leaks fall into a few categories that you can handle with these steps.
Tightening Hose Clamps and Securing Connections
This is the easiest repair, many leaks stop with just a half-turn of a clamp screw.
Replacing O-Rings and Resealing Joints
Step 1: Turn off your pump and depressurize the system.
Step 9: Restart and monitor for leaks.
Repairing Solar Collector Tubes
Small cracks in solar tubes can be sealed; large cracks usually require tube replacement.
Step 2: Turn off your system and depressurize completely.
Step 5: Monitor for recurring leaks even after sealing.
Solar Pool Heater Maintenance Checklist to Prevent Leaks
Prevention beats repair. A simple maintenance routine catches problems early.
Spring Startup and Winterization Procedures
Inspect your solar system thoroughly when opening your pool for the season.
Spring Startup Checklist:
- Check all hose clamps and tighten any that are loose
- Inspect hoses for cracks, hardening, or UV damage
- Replace any visibly damaged O-rings or gaskets
- Test your pressure gauge to confirm it reads accurately
- Prime your pump and check for leaks during initial startup
- Verify that water flows smoothly through solar collectors
- Clean solar panels of debris and dirt
- Check roof mounting bolts for tightness
Winterization Procedures:
- Drain your solar system completely before freezing weather arrives
- Shut off the diverter valve to stop water flow to solar panels
- Open drain plugs at the lowest points in your system
- Let water drain fully to prevent freeze damage
- Close all valves and cap open ports
- Document your system’s condition before winter
Regular Inspection and Pressure Monitoring
Check your system monthly during the season. This catches small problems before they become big ones.
Monthly Inspection:
- Watch your pressure gauge during operation
- Note if pressure holds steady or drops over time
- Look for new water stains or wet spots
- Check all visible connections for weeping water
- Listen for unusual sounds like hissing or gurgling
- Feel hoses for soft spots or damage
Quarterly Deep Inspection:
- Clean solar panels thoroughly
- Inspect roof mounting and sealant condition
- Test water flow rate and compare to baseline
- Check that the diverter valve opens and closes smoothly
- Examine all plumbing joints for corrosion or damage
- Replace any hose clamps showing rust or wear
Signs of Solar Pool Heater Failure and When to Call a Professional
Some problems exceed DIY repair. Knowing when to stop and call for help saves money and prevents damage.
Recognizing Beyond-Repair Damage
Certain damage indicates your system needs professional attention. If you see these signs, contact a qualified technician.
When DIY Repair Isn’t Safe or Effective
Some repairs require professional tools, training, or permits. Attempting them yourself creates safety risks or voids warranties.
Frequently Asked Questions
How do I identify where my solar pool heater is leaking?
Start with a visual inspection of all visible components: hose clamps, fitting joints, and the solar collector tubes for water drips or wet spots. Check the diverter valve and check valve connections. Perform a pressure test using a pressure gauge on the suction side and discharge side of your system to pinpoint pressure loss. Look for seepage around the plumbing manifold and any water pooling beneath mounted components. If the leak isn’t visible, the problem may be internal to the solar collector itself or within roof mounting connections.
What are the most common causes of solar pool heater leaks?
Loose hose clamps and corroded fitting joints account for most leaks. Worn O-rings and degraded gaskets fail over time due to thermal expansion and UV degradation. Solar collector tubes can develop pinhole leaks from corrosion or material fatigue. Roof-mounted systems often leak due to mounting damage, seal integrity failure at penetration points, or damage from storms. Poor winterization and inadequate maintenance accelerate seal failure and corrosion.
What should I include in a solar pool heater repair kit?
A complete solar pool heater repair kit should contain replacement O-rings in various sizes, new hose clamps (stainless steel), gaskets for your specific fittings, PVC cement and epoxy sealant for minor repairs, Teflon tape for threaded connections, and a pipe coupling kit. Include a pressure gauge for testing system pressure, a flow meter to check flow rate changes, and basic tools: adjustable wrench, pliers, and screwdriver set. Keep spare check valve components and diverter valve seals on hand for quick repairs.
When should I call a professional instead of attempting DIY repair?
Call a professional if you detect major structural damage to the solar collector, mounting system failure, or roof integrity compromise. If pressure testing reveals internal leaks within the solar tubes themselves, professional replacement is safer and more reliable. Avoid walking on solar panels to inspect, this risks cracking them. If your system is still under warranty, professional service preserves coverage. Complex plumbing repairs involving the heat exchanger, check valve replacement, or system repressurization after major repairs should be handled by trained technicians to ensure proper winterization and system performance.


Leave a comment